Realistically, there’s no better way to give your home a new, useful feel than to remodel your bathroom. And something really easy to do to get that “wow” factor? Changed out a vanity unit. Bathroom vanity units are the perfect mix of form and function, with their slim storage and clean basin. It’s a DIY job that most homeowners handle with patience and the right tools, transforming their space without breaking the bank.
Whether you are a seasoned DIYer or a total newbie who has never held a wrench, this guide will walk you through the installation process, warn you of potential pitfalls, and turn your bathroom into a space you love. Ready? Let’s go!
Tools & Materials Needed for Vanity Unit Installation
Essential Tools
Gather your tools before you even think about drilling holes or sealing edges. Believe me, nothing is more frustrating than realizing you left something behind halfway through.
Here’s what you’ll require:
Power drill (and a set of drill bits)
Hole saw (for plumbing cutouts)
Spirit level (because crooked vanities are a no-go)
Measuring tape
Pencil (for marking positions)
Adjustable wrench & pipe wrench
Screwdriver set
Utility knife
Silicone caulking gun
Hammer
Necessary Materials
Faucet and drain (usually sold separately)
PVC drainpipe & cement
Plumber’s putty
Teflon tape
Screws & wall anchors
Silicone sealant
Shims (for levelling on uneven floors)
Cleaning supplies (because dust happens)
Manufacturer’s Instructions: Why They Matter
Even though no one likes to read directions, sometimes manufacturers include a helpful installation tip that will save you a lot of time and pain. Wait to go crazy until you read the directions. It will be worth it.
Choosing the Right Vanity Unit
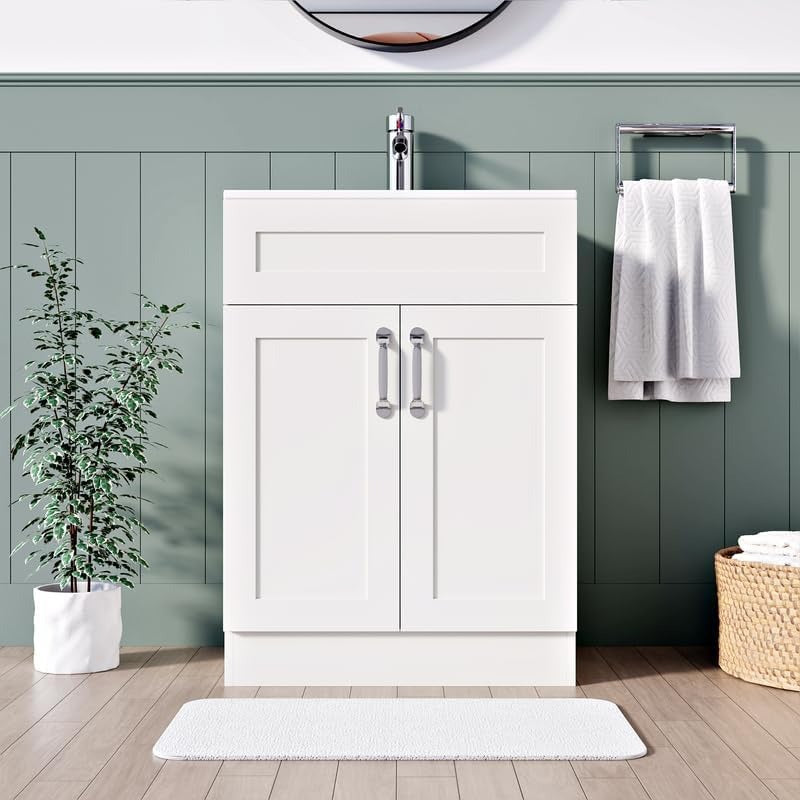
Crawley White 600mm Vanity Unit with Basin
Size and Space Problems
Selecting the perfect vanity unit is not just about picking something that looks good—it’s about ensuring it will fit your room and suit your needs. Size is one of the first things to consider. Measure the area in your bathroom, including width, depth, and height. You want the vanity to be big enough to fit in comfortably without getting in the way of movement or doorways, and you will want to ensure that cabinet doors and drawers open sufficiently without hitting walls or other fittings.
Types of Vanity Units
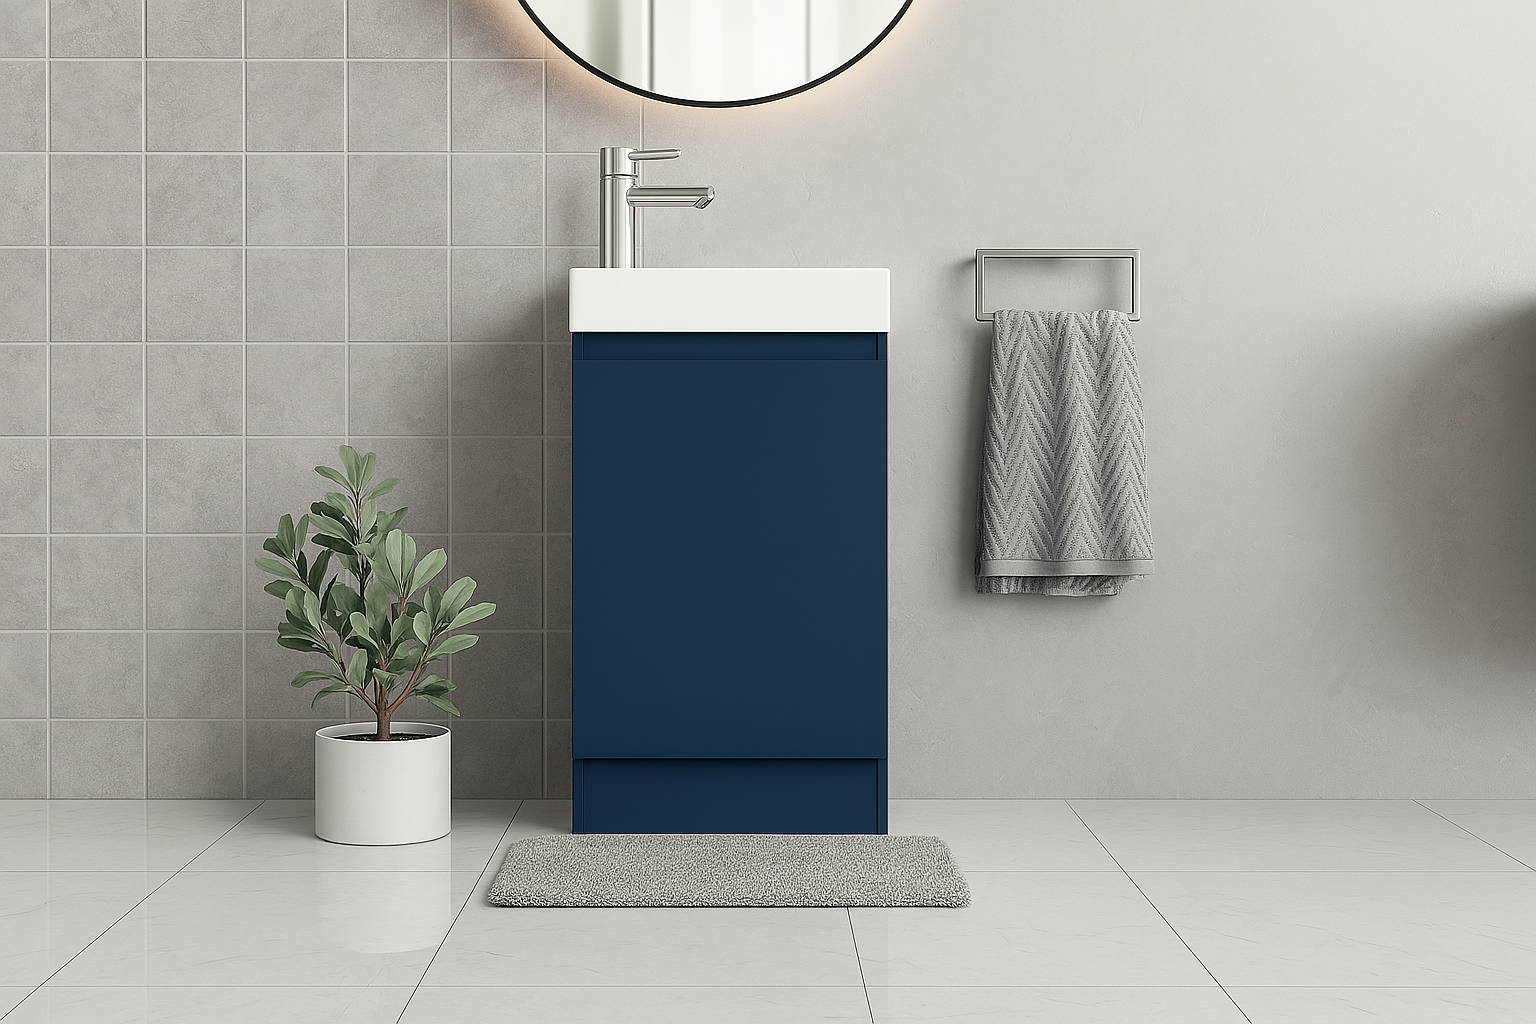
If you’re considering different vanity styles, wall-mounted vanity units are the perfect option. Because they appear floating above the floor, they make the area appear more prominent and easier to clean underneath. Floor-standing vanity units provide additional storage and a more significant presence and are perfect for larger bathrooms or areas requiring extra storage.
Style and Aesthetic Decisions
Style and the overall look of your bathroom are essential, too. Need a minimalist look? Smooth, glossy finishes in neutral colours might be the ticket. Want something a bit warmer? Wood finishes or patterned designs on vanities can give it some personality. Don’t overlook the appearance of your countertop material; the faucet finishes can make the whole thing come together.
Preparing for Installation
Turning Off the Water Supply
Now that you’ve chosen your vanity, it’s time to prepare the space. The first thing you do? Turn off the water supply. Yes, it does sound silly, but it’s easy to forget in the excitement of a new project. Locate the shut-off valve for your bathroom and turn it off in case of unexpected water leaks.
Removing the Old Basin/Vanity Unit
The old vanity unit or basin is taken out next. Remove the water supply lines and the drain trap underneath the sink. Remove old caulking around the edges with a utility knife. If the present vanity is secured to the wall or floor with screws, use a screwdriver or drill to remove the fasteners. Once loose, pull the unit out. Clean the area, scrape away old sealant, dust away, and make sure the wall and floor are dry and dust-free.
Plumbing and Wall Structure Inspection
Before installing the new vanity, examine the wall structure and plumbing. Look for loose fittings and dripping pipes that must be fixed before installing the new unit. Also, locate the wall studs with a stud finder if you install a wall-hung unit. Wall studs provide the firm support needed for these floating units. Finally, use your spirit level and measuring tape to establish where the new vanity will be installed, ensuring the height, width, and depth suit your area and current plumbing.
Step-by-Step Vanity Unit Installation
Applying Silicone Sealant for Waterproofing
Sealing is also necessary to avoid water damage to your new vanity. Apply a clean, unbroken bead of silicone sealant to the edges where the vanity is secured to the wall and the basin is secured to the countertop. This creates a waterproof seal that prevents water from leaking through cracks.
Carrying out Leak Tests Fitting a Wall-Hung Vanity Unit
Start by measuring and marking the exact spot to install your wall-hung vanity. Mark the place on the wall with your pencil, ensuring the accurate width and height. If you are satisfied with the location, use a stud finder to locate and mark wall studs. Wall-hung vanities must be installed into wall studs to ensure they are secure and stable.
Second, install the mounting bracket that comes with your vanity. Drill pilot holes along the wall studs and attach the bracket with heavy-duty screws. Level the bracket before screwing it into place completely.
Now that the bracket is on, it’s time to install the vanity. It is one of those times when it does pay to have someone to hold. Place the vanity on its side and push it into the mounting bracket so it’s in place. Place it against the wall, then check the level.
Last but not least, the plumbing. Install the water supply lines on the faucet and drain pipe. Apply Teflon tape to the pipe threads so they seal up tight and will not leak. Once all connections are made, turn the water on for a few seconds to test for leaks. If it all holds, you’re in business.
How to install a Wall-Mounted Vanity Unit
For wall-mounted units, start by taking measurements and marking the floor area where the vanity is to be fitted. Make sure the marks are central and at a level position. If your vanity is flat-packed, construct it according to the manufacturer’s instructions before fitting.
Once you have assembled it, place the vanity in its position and use a spirit level to check if it’s level. Floors may not be level, so if you notice any tilting, use shims at the bottom to level it.
At the unit level, take it out temporarily and drill pilot holes in the floor at the marked locations. Insert wall anchors into the holes, and then put back the vanity and screw it into position tightly. It will prevent the vanity from shifting or wobbling in the future.
Before you put the basin on top, install the faucet and drain. It is simpler to do this first before the basin is installed in the unit. Once installed, put a sizable silicone sealant bead around the vanity top’s edge and install the basin. Cut off excess sealant for a tidy finish.
Lastly, connect the drain and water supply lines. Again, use Teflon tape where there are threads and plumber’s putty at the drain hole to prevent leakages.
How to install a Floor-Standing Vanity Unit
For floor-standing vanities, start by measuring and marking the floor space where the vanity will sit. Make sure the marks are centred and symmetrical. If you are working with a flat-packed vanity, assemble it according to the manufacturer’s guidelines before installing it.
Once you have assembled it, position the vanity and level it using a spirit level. Floors are not necessarily level, so if you notice tilting, adjust it by positioning shims at the bottom.
At the unit level, remove it temporarily and pre-drill pilot holes in the floor at the positions where you marked them. Fill the holes with wall anchors, and then rehang the vanity and screw it down firmly in position. It will keep the vanity from moving or wobbling in the future.
Before placing the basin on top, install the faucet and drain. It’s simpler to install before installing the basin onto the unit. Once installed, apply a quality bead of silicone sealant to the vanity top edge and then install the basin. Remove any surplus sealant to complete a tidy finish.
Finally, connect the drains and water supply lines. Once again, cover threaded connections with Teflon tape and drain with the plumber’s putty to seal any leakages.
Now that you’ve closed, it’s time to inspect the plumbing. Turn on the water supply and run the faucet for a few minutes. Walk around and examine all the connections under the sink for leaks. If you notice any drips, tighten the fittings or reapply the Teflon tape until the leak is gone.
Adding Finishing Touches and Cleaning
When everything checks out, finish the job by cleaning up excess caulk, wiping down surfaces, and attaching hardware like cabinet handles or drawer pulls. Step back and admire the handwork you’ve earned. Also make sure to tile behind vanity if you need an extra layer of protection.
Tips for a Successful Vanity Unit Installation
Verify measurements twice: Accuracy is paramount. Double-check all your measurements before drilling or cutting. Errors might result in misaligned plumbing or crooked vanities, which can be a nuisance to rectify. Equally important is having the appropriate tools. A spirit level, for example, isn’t a nicety; it’s necessary for ensuring your vanity is in the correct position.
Use High-Grade Sealant: Always use high-quality silicone sealant, especially in moisture-heavy environments like bathrooms. A suitable sealant prevents water from sneaking into gaps and causing long-term damage. Additionally, consider installing an exhaust fan if you’re working in a restroom with little ventilation. Excess humidity can grow mould, damaging your new vanity over time.
DIY vs. Professional Installation
DIY installation has its perks, primarily cost savings. It’s more affordable because all you’ll need are supplies and equipment. Plus, completing a home improvement project yourself is a real sense of accomplishment. But DIY isn’t for everyone. It requires time, patience, and some essential plumbing expertise. Hiring a professional might be more innovative if you’re new to home remodelling or anxious about making mistakes.
Professionals bring expertise and quickness. They will finish things faster and offer an artistry guarantee, providing trust. However, they initially come with a premium price tag. Consider your options carefully, mainly if your installation includes intricate plumbing or wall-mounted equipment that needs to be mounted precisely.
Common Installation Issues
There aren’t many DIY projects without minor setbacks. One such setback is uneven floors that make the vanity wobble. Shims can quickly correct this slide under the base until the unit is stable and level.
Plumbing issues are another standard stumbling block. If you discover leaks after joining water lines, ensure all fittings are tightened and sealed with Teflon tape. Occasionally, a drip can be eliminated with a minor adjustment.
Improper measurements will be a nightmare. Before drilling holes or cutting anything, always double-measure the spacing. It’s much less challenging to measure once again than to repair a misplaced hole.
Anchoring the unit to wall studs is not an option for wall-mounted vanities. Before you proceed, consult an expert if you can’t locate studs or if they don’t coincide with your unit
One of those DIY tasks that gives instant gratification is fitting a vanity unit; you can see the difference as soon as it’s complete. It may seem unsafe initially, but it’s entirely within reach with the right tools, a good plan, and some patience.
Whether you aim for a modern wall-hung unit or are entirely within reach of a traditional floor-standing vanity, this guide will put the cherry on top. Each time you go to your bathroom, you’ll feel that slight glow of pride that you created. Enjoy renovating!
Frequently Asked Questions
Can I fit a vanity unit myself?
Yes! If you’re happy with simple plumbing and tool use, a DIY fitting is possible. Use a step-by-step guide, make precise measurements, and double-check your plumbing joints. Getting someone in can be worth the money and hassle saved if unsure.
How do I decide between wall-hung and floor-standing units?
Wall-mounted units are perfect for contemporary space-efficient designs and effortless floor cleaning but require solid wall support. On the other hand, floor-standing units provide additional storage, stability, and easier installation because they rest on the floor. Select according to your bathroom size, storage requirements, and design choice.
What is the most effective way to have a leak-free installation?
Apply Teflon tape to every threaded plumbing fitting, use a high-grade silicone sealant around the edges and basin, and tighten all fittings firmly. When you are done installing, slowly turn on the water and inspect for leaks before closing up everything tight.
How often should I clean and service my vanity unit?
Inspect for leaks, loose fittings, and worn sealants every few months. Clean surfaces often with a mild cleaner, avoid harsh chemicals and ensure the drain is clear of blockages. Small checks will prevent more significant problems from arising!
Conclusion
Vanity unit installation is one of those DIY jobs that provides instant reward. You can see the difference as soon as it’s complete. It may look daunting at first, but it’s entirely within reach with the proper tools, a well-thought-out plan, and a bit of patience. Whatever your style, whether you’re aiming for a modern wall-hung or traditional floor-standing vanity, this guide will have you on the path to success. And the good news. Each time you take a trip to your bathroom, you’ll experience that small jolt of pride you achieved. Good luck with renovating!